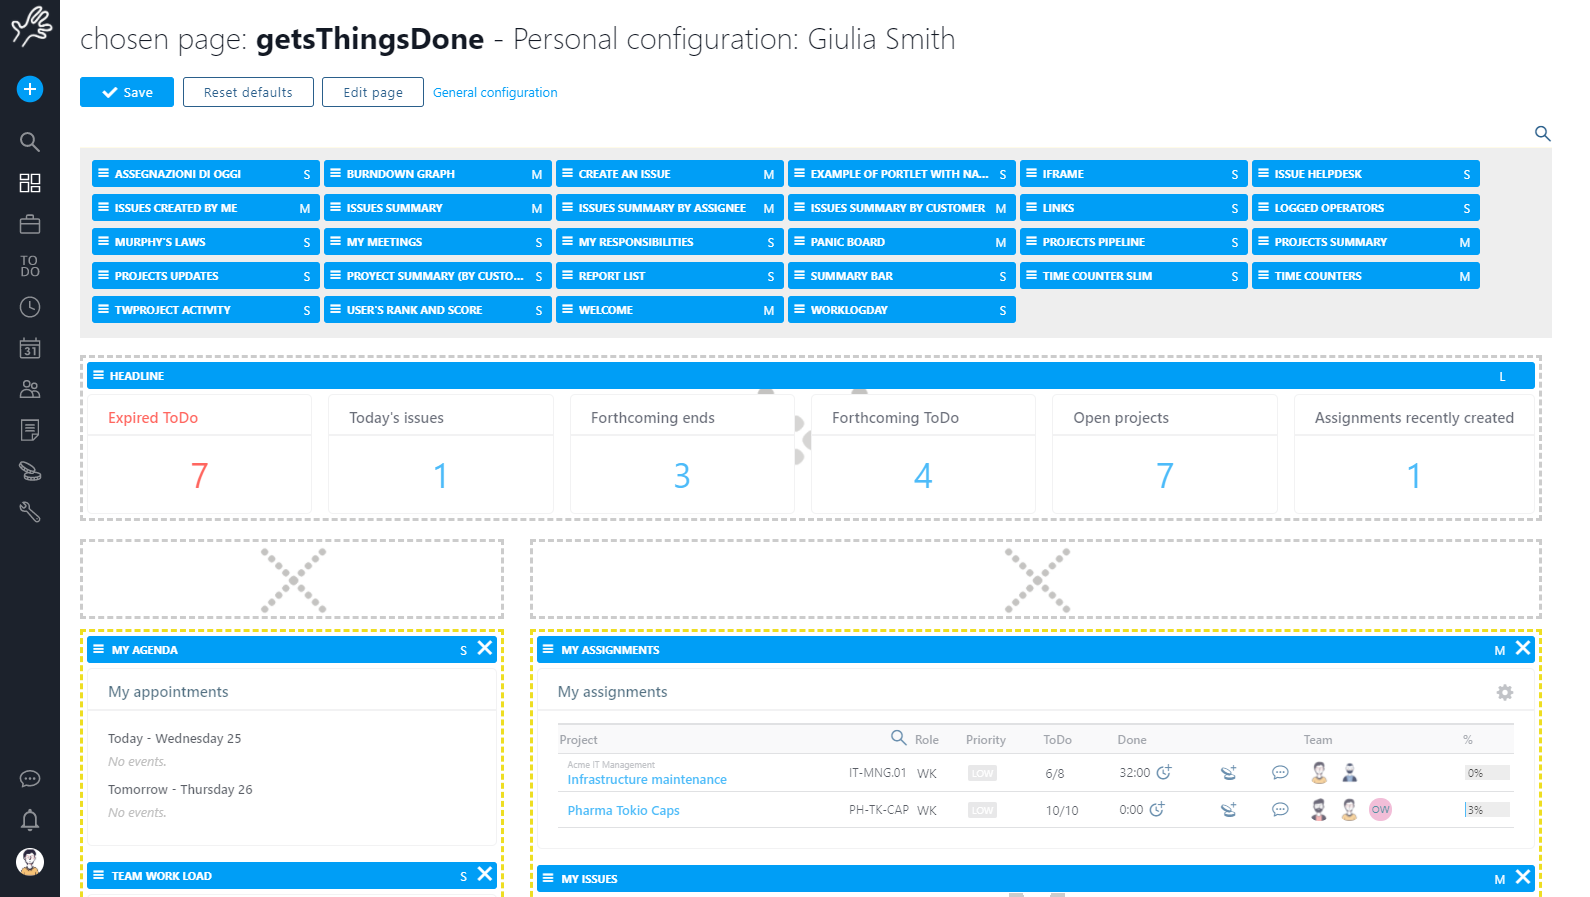
Dashboards are used to keep every work aspect under control at a glance.
Every company and every user may require to keep different information under control; every Twproject’ user by default can customize her/his home page/dashboard.
A dashboard (also called “page”) is composed by a “template” (the grid) and several widget (also called “portlet”) placed on each grid’ “box”.
Pages
Twproject comes with several pre-defined pages that you can customize.
You can anytime create new pages

Editing a page
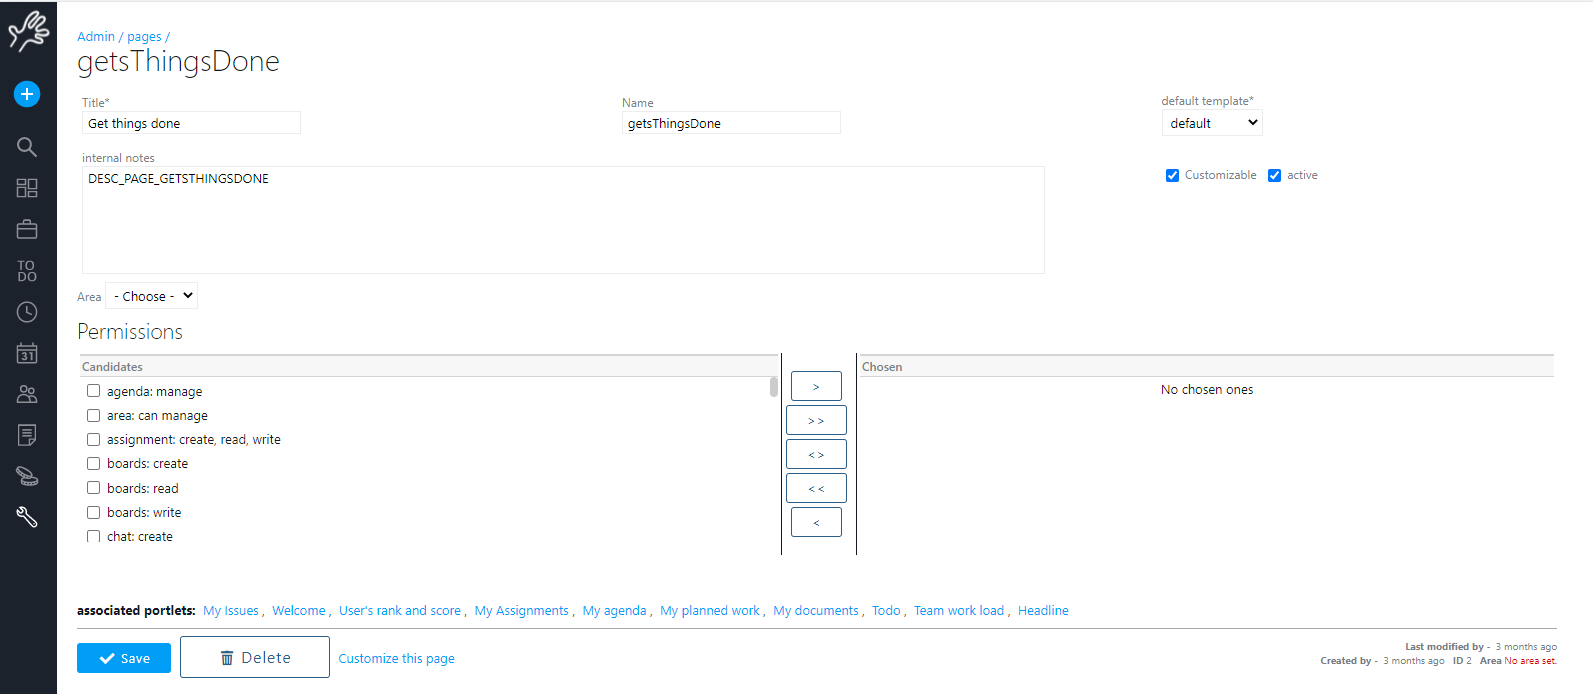
Define a title, a name, the template (see below for more on templates).
The name is used for composing the URL, the title is what will be shown in user interface.
You can allow users to customize its copy of this page or not by checking the flag customizable. You can hide the page by set it not active.
You can set permissions on the page, so that the page will be available for some user only.
Then you have to set the page contents simply dragging and dropping the “widget” in the grid.
For the administrators: administrators will have a double option: they can change their own page or the “default view” for other operators, so pay attention on what you are editing.
Templates (the grid)
A template represents the page grid. It should contain the “areas” where you can drop your widget:
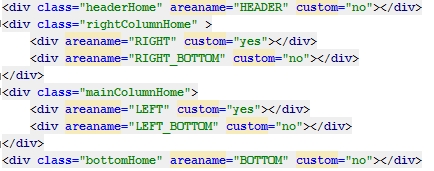
Here you have two columns with some boxes identified by the “areaname” property. You can specify that some areas are not customizable writing custom=”no”; in this case the administrator only can drop there widgets.
Widgets (aka portlet)
Widgets are the small parts that compose a page.
Drag and drop them on a grid’s box to compose you page.
We provide a quite wide range of built-in widgets, but users (Java programmers) can create their own.
Editing widgets
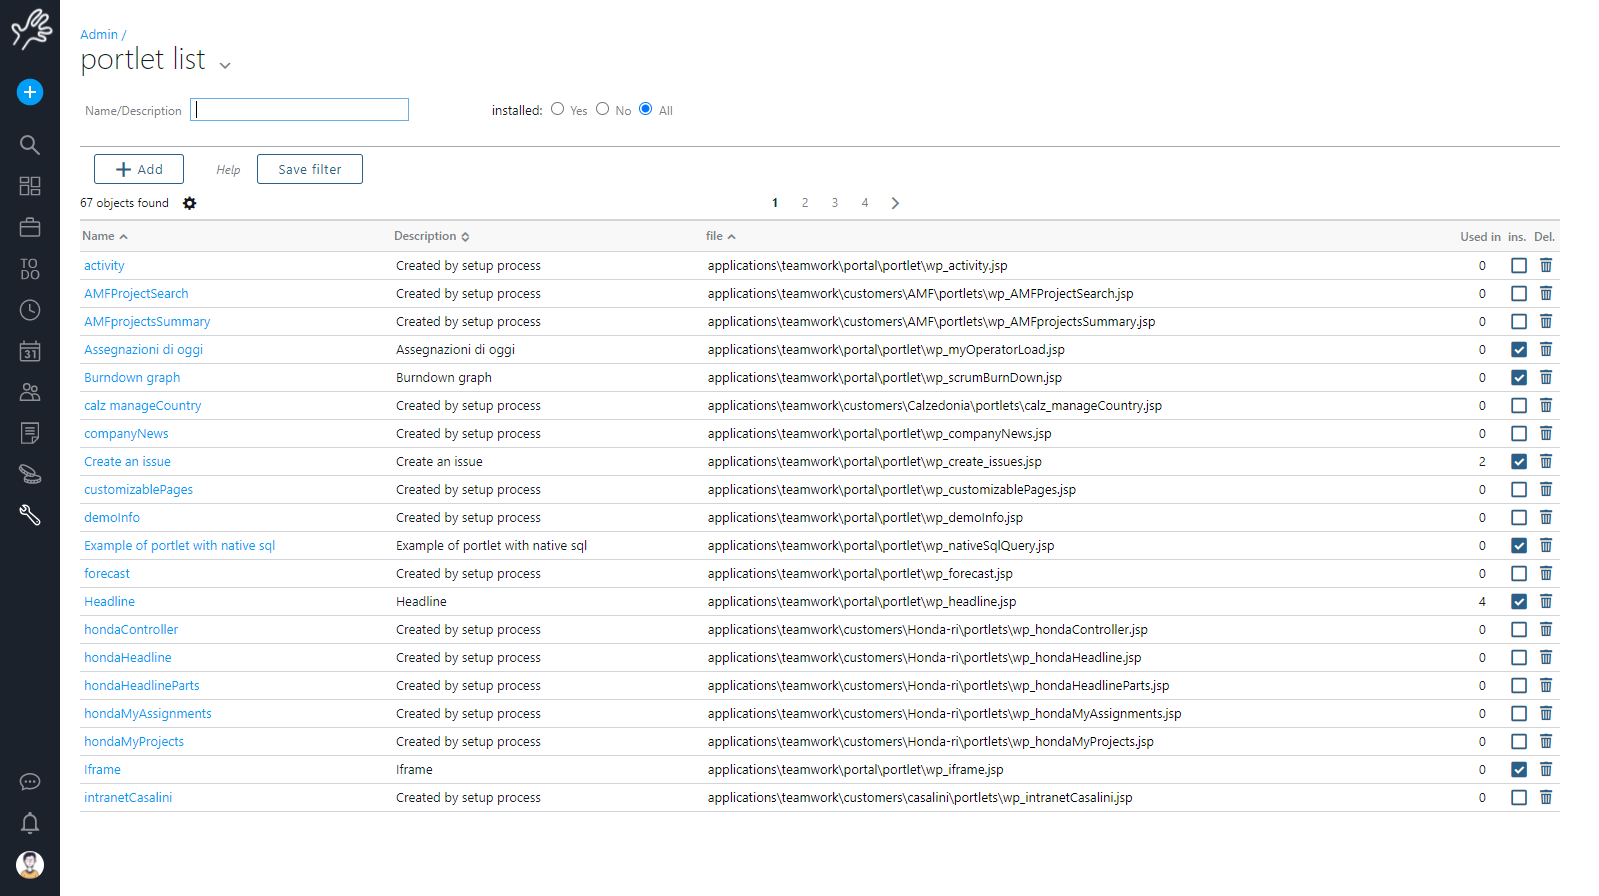
Here you will see the status of installed widgets.
A widget is an object that refers to a self standing .jsp page contained on a specific folder (default ones are on [root]/applications/teamwork/portal/portlets folder).
Having a file on that folder is not sufficient to use a widget, you need to create a “portlet” object point to it.
In the widget editor you can change name and description, remove the widget from where it is used and modify it.
You can select a widget file from the combo that lists the .jsp files in the folder.
By selecting “storing modality” to “write” you will be able to change the widget source code. This requires Java skills, do not do it at home :-)
The “security” tab will allow restricting widget usage to users that have particular permissions.
Create your own widgets
You should be fluent in Java in order to create your own widgets.
If you are still reading this section probably you didn’t see the previous disclaimer, anyway…
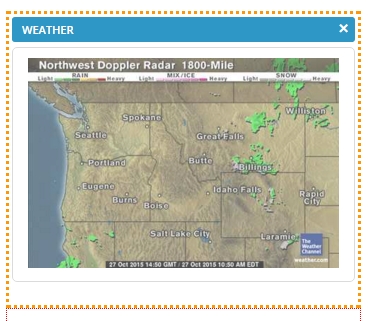
Let’s start with something really easy: we want to create a widget that shows a satellite photo of weather on NE USA.
First create a new file on [root]/applications/teamwork/customers/[YOUR_COMPANY_NAME]/portlets folder: we’ll call it “wp_forecast.jsp”.
Here is the content:
<div class="portletBox">
<img src="http://media.zenfs.com/en_us/weather/weather.com/us_nw_9regradar_medium_usen.jpg?1340207025" alt="satellite forecast">
</div>
Then from the widget editor create a new widget: call it “Weather on NE USA”, select “wp_forecast.jsp” as file, save it.
Probably you will get a warning about the absence of a parameter configuration widget. This is a more sophisticated feature that allows you to customize widget with parameters through the web interface. Study the supplied example wp_iframe.jsp and wp_iframe_param.jsp
You can change the code by editing it “on-line”; just select the “write” radio.
Your new widget is now ready to use: from “customize page”, drag and drop the widgets in your page, save.
There are many widget distributed with Twproject that not are used by default. You can have a look to them if you are interested on developing a new one.