If you have just started your Twproject instance and you are ready to start improving your way of working here you can find some advice for your first steps.
In case you have just started your online trial follow this guide instead.
First access
Twproject welcomes you with the login page.

The first time you need to log in use “administrator” with empty password; then reset the password as soon as possible.
After the first login, you will log in automatically (by default). If you log off by hand, then you will need to re-enter the username and password.
First page
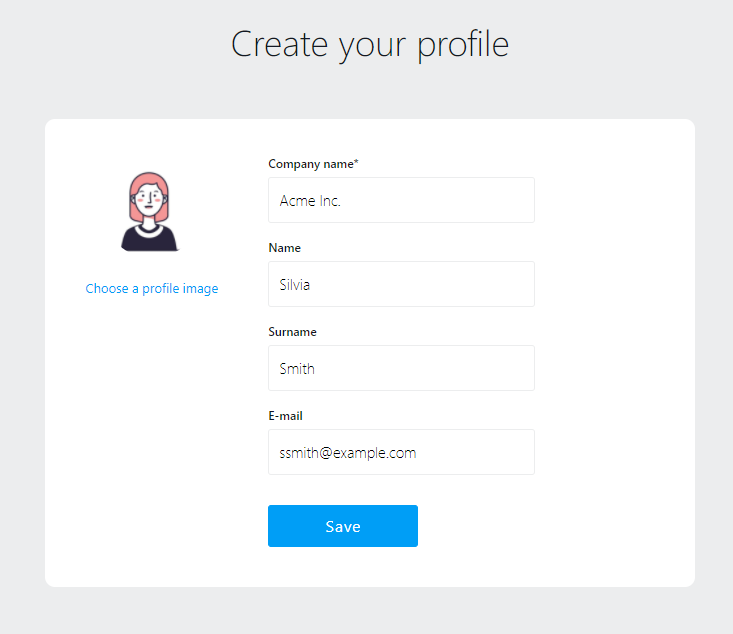
After login you will be redirected to your profile page. Insert here your name, surname, email and company name.

After setting an image and filling up the fields you get to the welcome page, follow the steps to be up and running in few clicks:

Your first project
You are now ready to create your first project; pick one of the suggested template or start from scratch:
Then insert the name of your project, the start date, the duration or the end date, choose the one that is more comfortable to you.
That’s all, your first project is ready! You could press the “save” button now, but:
the new project editor allows to specify more information like code, progress, relevance, description, some tags, and most important who is working on this project, those are called “assignments”.

In this example, the “assignment” says that “Giulia Smith” (the logged user) is the “Project manager”, and that there is no estimation for his work to do; you can refine the project information further .
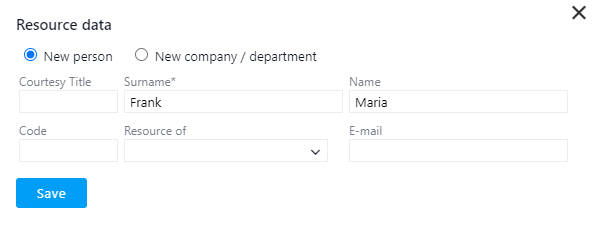
If you want to involve someone else in this project just write the name E.G. “Maria FrankMaria”

and click on “add resource”. People (and companies) involved on projects are called “resources”:

You can eventually insert additional information like an e-mail and then press “save”.
Consider that Twproject can manage resources in flexible structures like company – department – offices – teams and so on. See the section dedicated to resources if you want to go in depth.
It’s now time to “save” the project:

Once you have created your running projects, you could keep everything under control using your dashboard that will look like:

If you need more information have a look at “Using Twproject“