Twproject release 7 includes the upgrade to Apache Tomcat 9 and JDK 8, so before proceeding with the upgrade read this post carefully.
Before proceeding do a complete backup (full folder installation, database and repository). Twproject 7 must be installed on a different folder.
In case you have installed Twproject with the graphic installer you can proceed as following:
1 – Stop the Twproject 6 service.
2 – Create a new empty database on your DB server.
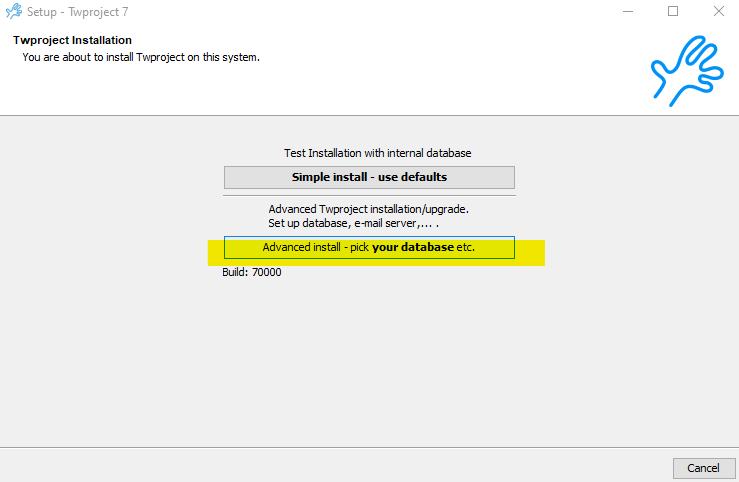
3 – Download the new installer and launch it, do a new installation, in a new installation folder, choosing advanced installation and pointing to the new empty database.
4 – You can generate a license (if you do not have one) on our site here. License of Twproject 6 is not valid, if you are an active customer that want to upgrade contact us.
The installer will create a new service running on port 80, 8080 or the one chose (for Tomcat 9).
This is a brand new installation of Twproject 7. Enter with username administrator with empty password. If everything works fine we are ready for the upgrade.
If you are installing on old Windows servers, in case of you cannot reach the application, check that the Twproject service log-on as “Local System account”
5 – Stop the new Twproject 7 service.
6 – if you are running on the same http port, remove the old service (or disable it) and change the file server.xml( [twroot]/conf/server.xml) :
Locate the connector tag
<Connector port="8080" maxHttpHeaderSize="1048576"
 maxThreads="150" minSpareThreads="25" maxSpareThreads="75"
 enableLookups="false" redirectPort="8443" acceptCount="100"
 connectionTimeout="20000" disableUploadTimeout="true" URIEncoding="UTF-8"/>
and change the port number to your preferred one.
7 – Copy your avatar folder from the previous installation folder as well as the repository folder.
8 – Copy the global.properties file ([twroot]/webapps/ROOT/commons/settings), then edit it eventually modifying INDEX_PATH, STORAGE_PATH_ALLOWED, REPOSITORY_URL
9 – Now edit the config.properties file ([twroot]/webapps/ROOT/WEB-INF) end point to the old Twproject 6 database (Backup first!) and start the service.
10 – Now wait until the procedure ends, it may require several minutes for data migration!
If everything works fine, check, in the admin page if all the configurations are restored.
11 – Now, If you have HTTPS enabled you have to configure the new server.xml as the old one (do not override the new one with the old one). This will require a new start and stop of the service.
——————————————————-
If you did a manual installation you need to create a fresh new installation on Tomcat 9 with Twproject 7, running on an empty database.
Once everything is fine follow the step above from point 6.